Beginners Guide to Microfishing: Gearing Up

This example uses a purpose made tanago rod, line, and bait, but the beauty of this style is you don’t need any of that. Think of this as the ‘formal’ way to do it and let it give you inspiration to try whatever combination of stick, string, and hook you have. Accessibility is what makes microfishing so much fun. You don’t need a bass boat, thousands of dollars’ worth of tackle, or access to pristine mountain streams to enjoy it. Small fish are everywhere and being able to quickly start catching them with stuff you can pull out of your pocket is a great way to spend a lunch break next to an urban creek or a lazy weekend afternoon deep in the woods.
Gearing Up
The first step is understanding your equipment and we’re going to start at the very beginning. Tanago is about the simplest way to fish, but it can be somewhat counterintuitive. We’re going to walk through every step of the process, giving instructions and explaining the reasoning so you can decide how you want to do it.
Rod Prep
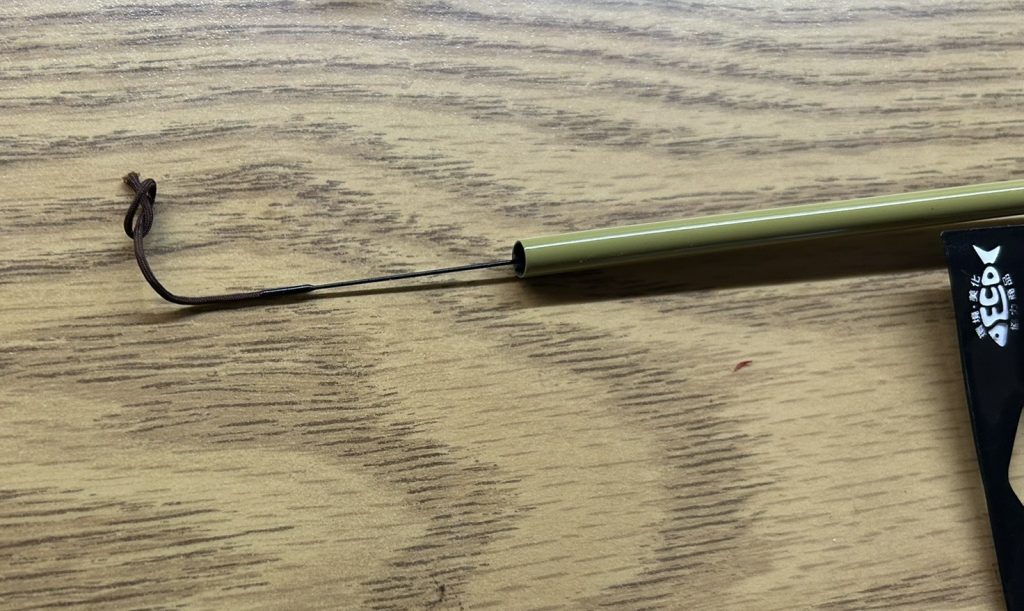
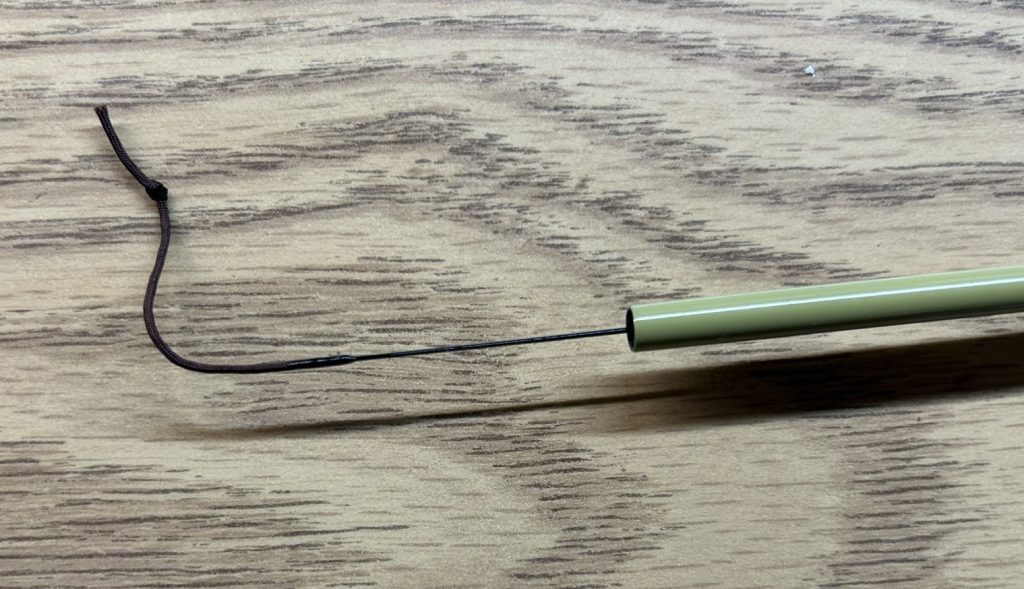
Always extend the rod gently one section at a time starting with the tip, to repack the rod do the opposite, always gently. The tips of these rods are very fragile and can snap if too much pressure is applied. Taking your time and not jerking or putting too much force can help save your rod.
Tanago line is attached with a simple loop placed behind a knot tied at the end of the lillian. When a fish pulls on the line it cinches the loop tighter and drives it against the stopper knot. A simple and effective way to secure a line that also allows for easy detachment.

Unpacking and Understanding the Line
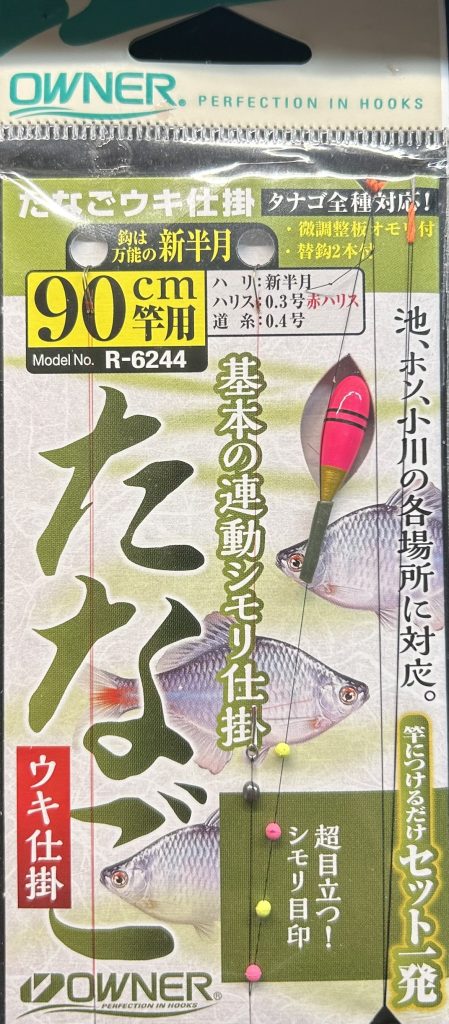
The first thing to consider when selecting line is length and the best place to start is to match the length of your chosen rod. The rod I am using in this example is a 90cm (≈3ft) long RGM Spec.3-OT so I’ll be using an identical length line. Having the line match the rod makes taking in a catch and baiting your hook easier as when the rod is held vertically the hook is level with your hand. You can tie your own rigs, but the easiest way to get started is to buy a prepackaged all-in-one set from companies like Owner, which makes them in many different lengths.
Parts of a Tanago Line
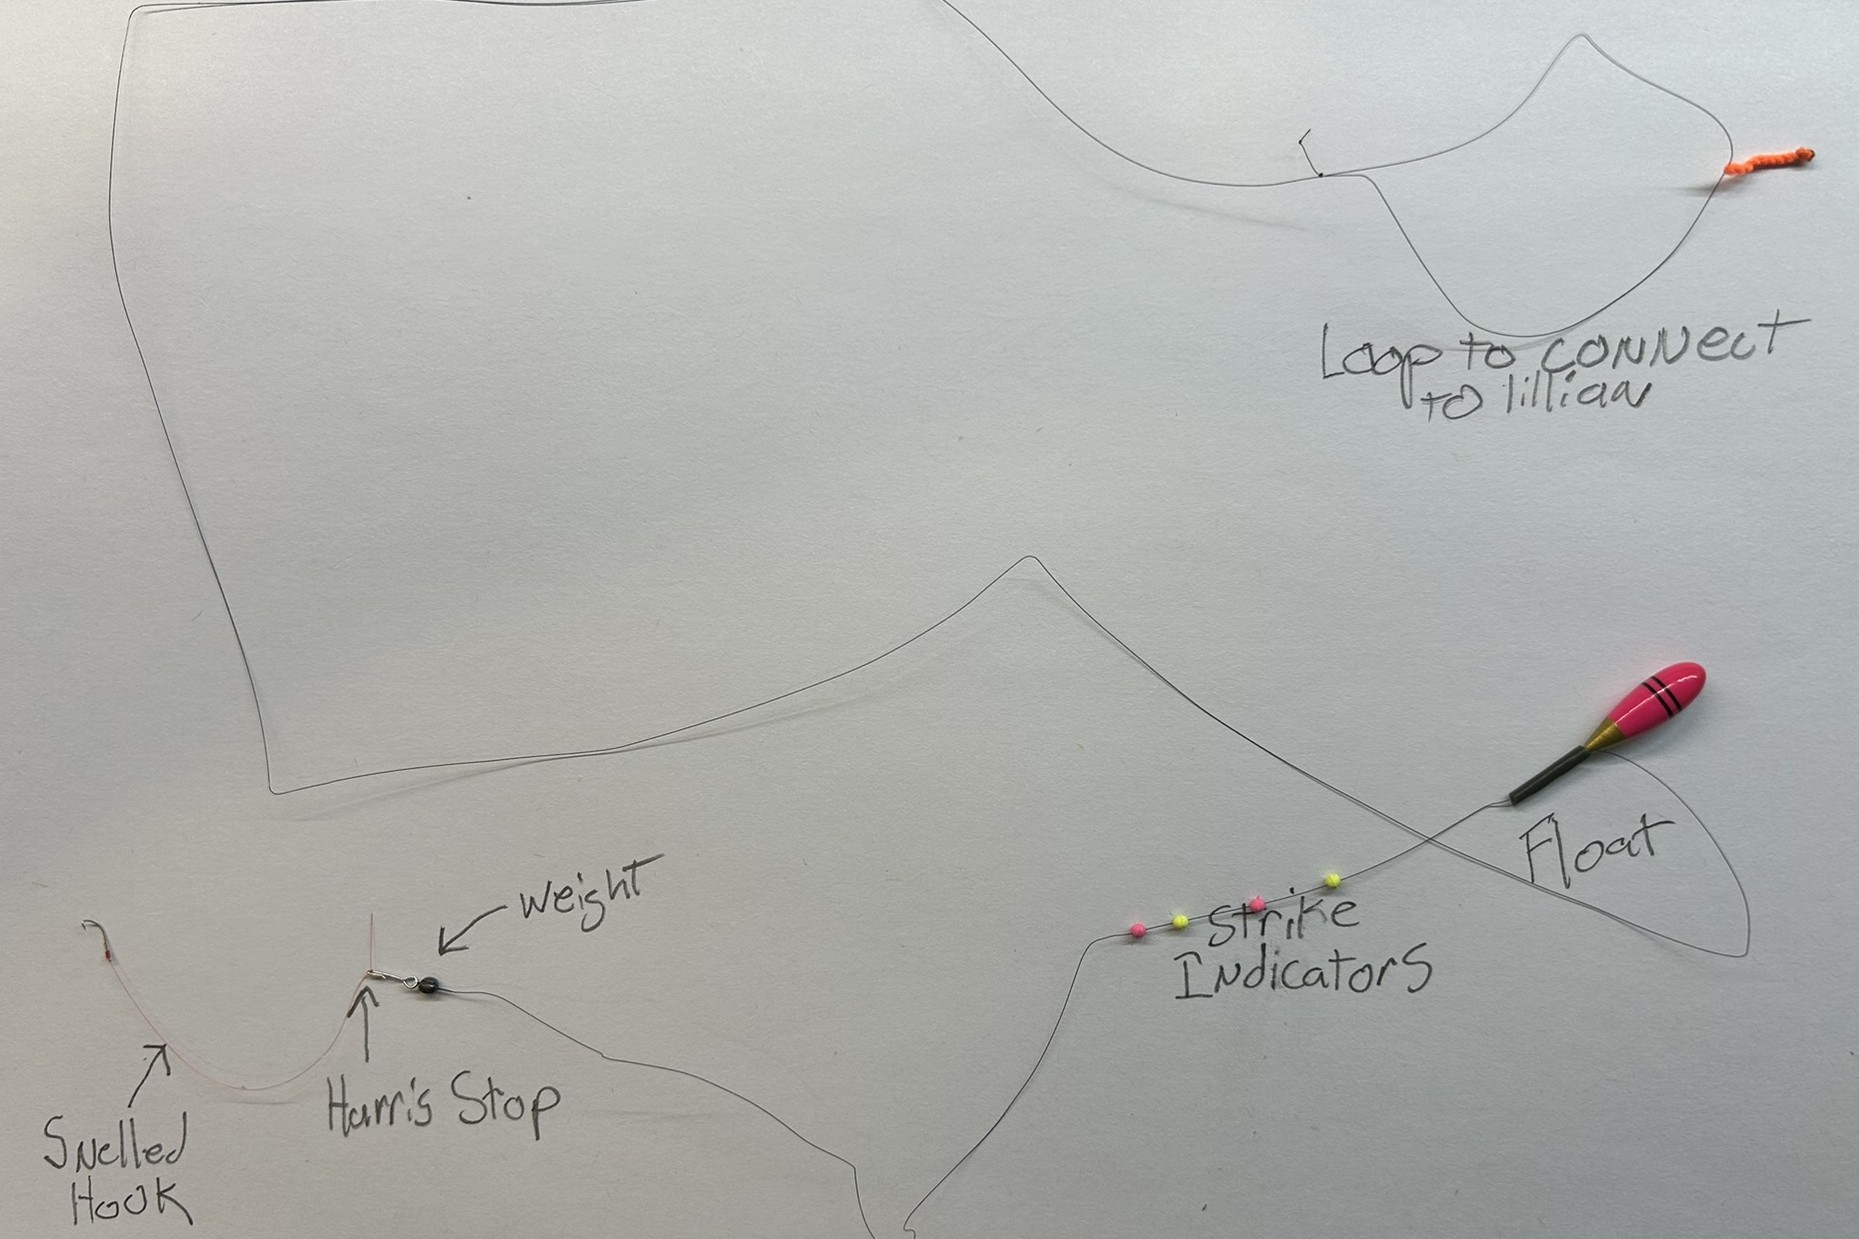
For all my talk of simplicity, the line is covered in little bits and clips so we’re going to go over each part and their purpose, starting from the top.
- Main Line
- Loop to connect to lillian
- This is what attaches the line to the rod, the loop is folded over and placed behind the knot tied in the lillian
- Line
- Most of the body of the line is here
- Float & Float holder
- The small float is held to the line by inserting it into a thin piece of tube
- It can be moved up and down to adjust target depth
- Strike Indicators
- These brightly colored beads sit below the water line and give a visible indication of line movement, letting you know you have a bite
- They can also be slid
- Weight
- This small weight helps the line sit vertically
- Lead foil to wrap around the line is also included if more weight is needed
- Harris Stop
- This has a metal loop on one end that the main line is attached to and a hook to slide on the hook
- Loop to connect to lillian
- Leader
- Tanago hooks can come pre-snelled (with line attached) or just the bare hook
- Snelled hooks are my preferred choice as i am not dexterous enough to get a snell knot on a tanago hook
- If a hook breaks off, you can slide a replacement onto the harris stop and get right back to fishing
Bait
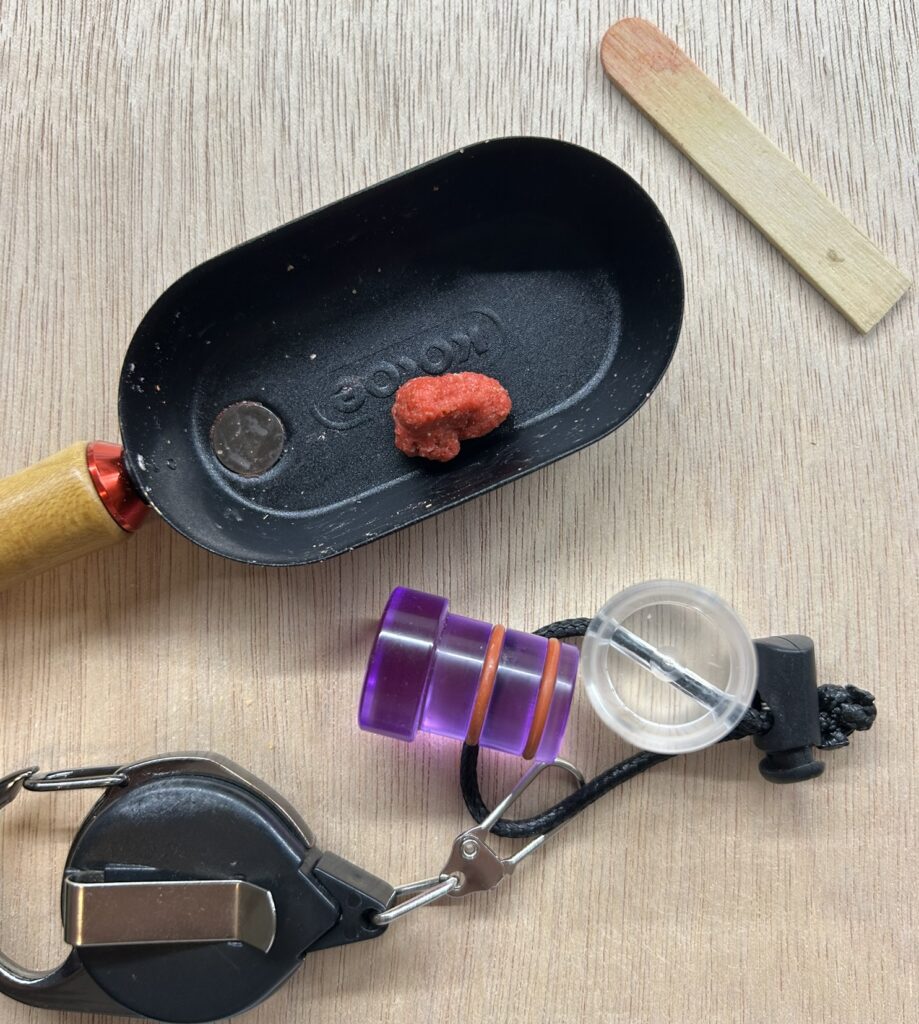
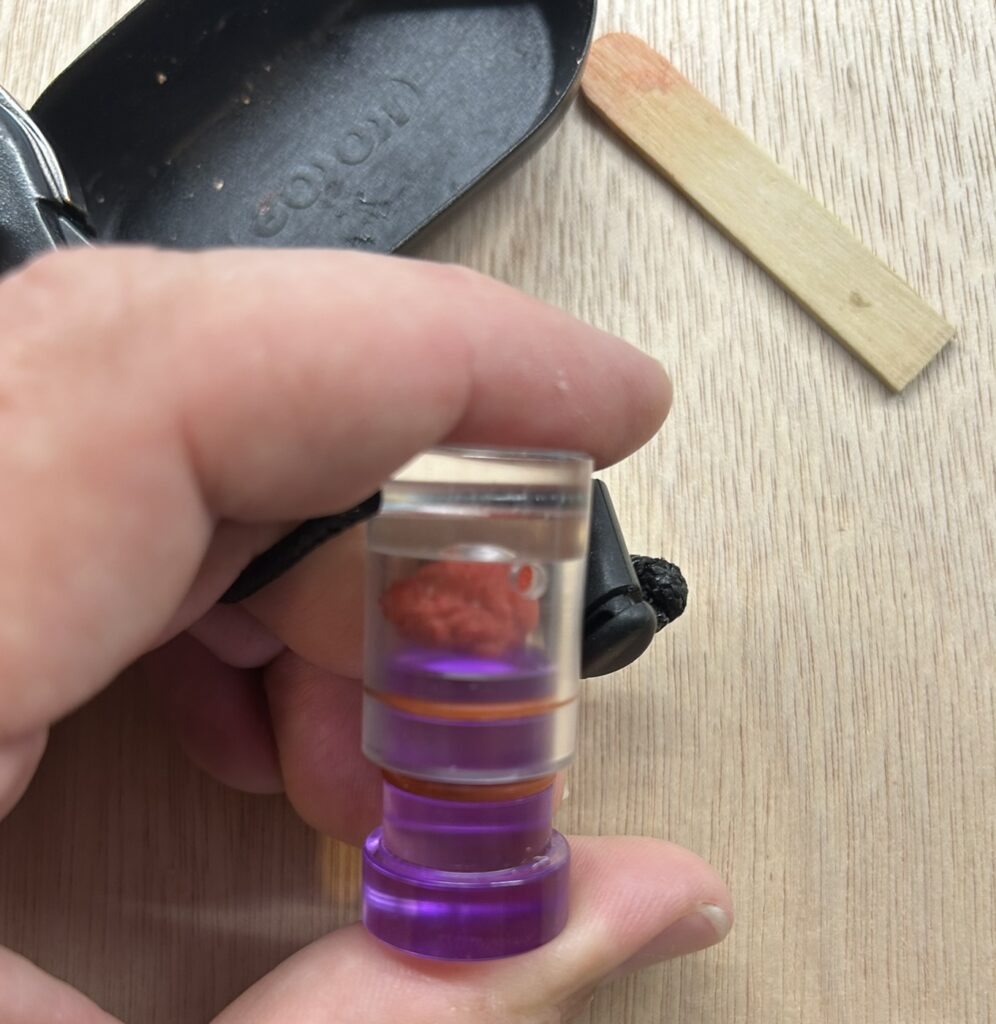
Tanago bait can take many shapes and forms. You can use bread, PowerBait, tiny bits of worm, fruit, or pretty much anything edible you can fit on a hook and will stay there. However, powdered gluten bait made to be mixed with water (usually in a ratio of ≈2:1) and put into a squeezer that pushes out a small bead of bait is the most popular, for a lot of reasons:
- It’s easy to transport and doesn’t spoil
- It can be mixed up with the water you’re fishing in
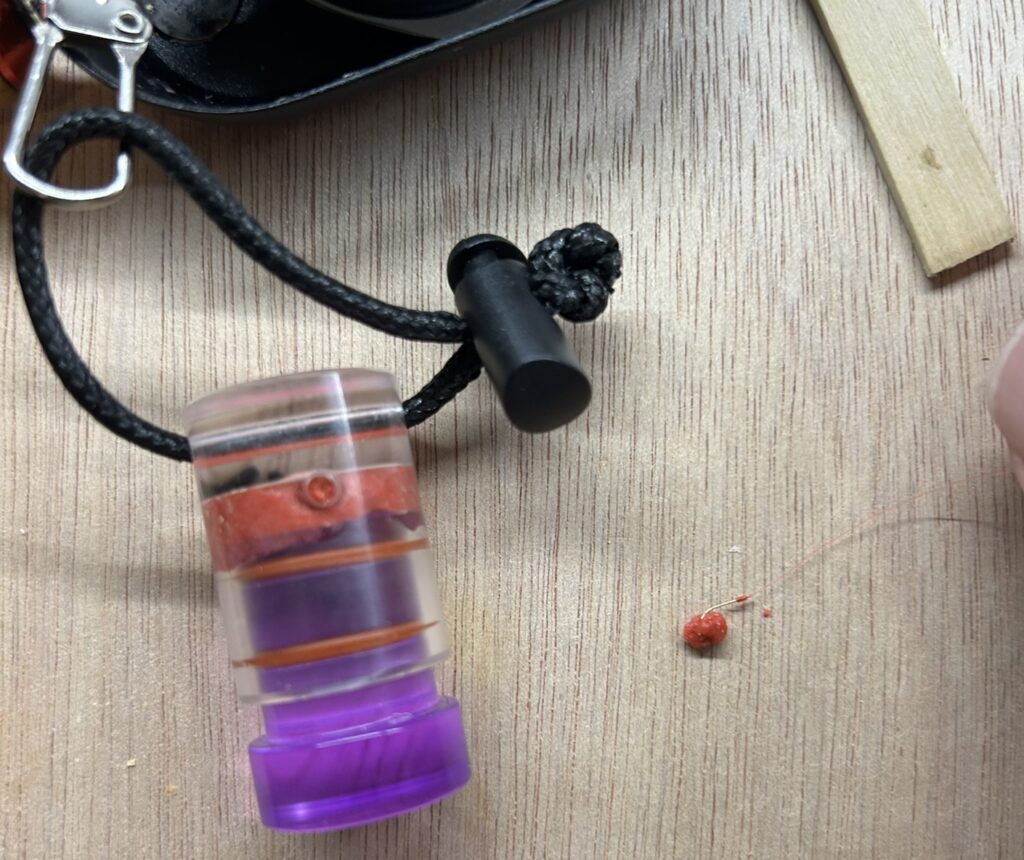
- Tanago hooks are small and it’s easy to drag one through a bead of bait
- You can easily (and cheaply) mix your own
Marukyu is the gold standard of Japanese gluten bait, comes in dozens of varieties, and can be bought in the US from sites like Angler’s Emporium. You can make your own with a simple mix of 2:1 high gluten flour to fish food or experiment with cricket flour, vanilla, garlic, fish attractant, shrimp powder, or whatever else you suspect might get a bite.
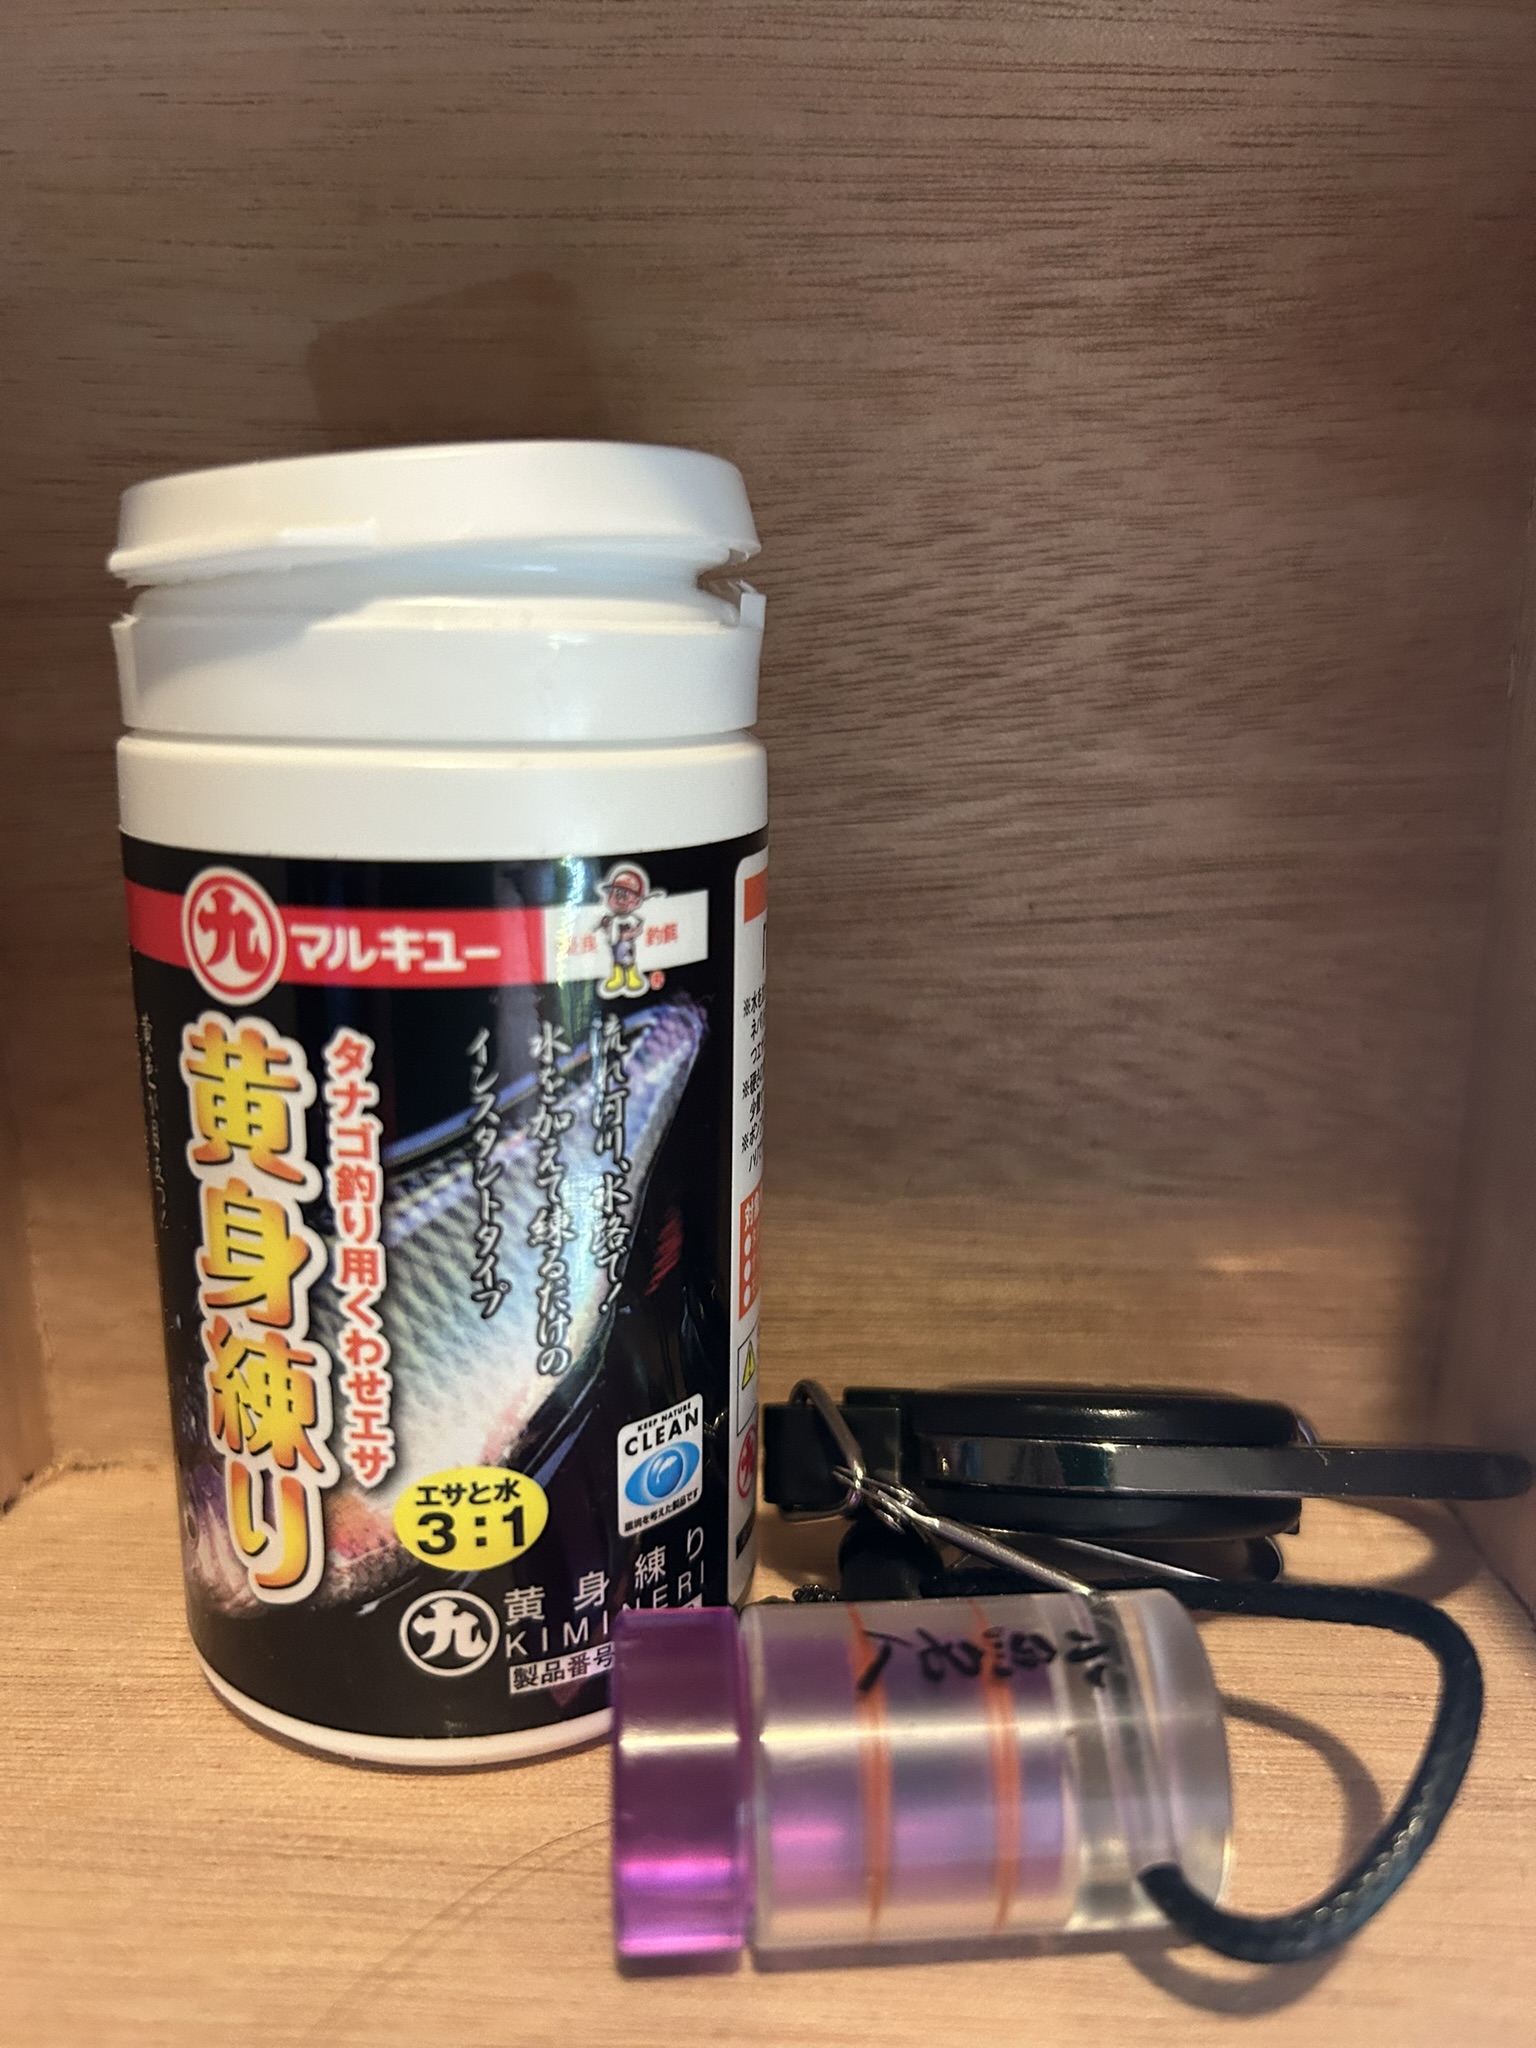
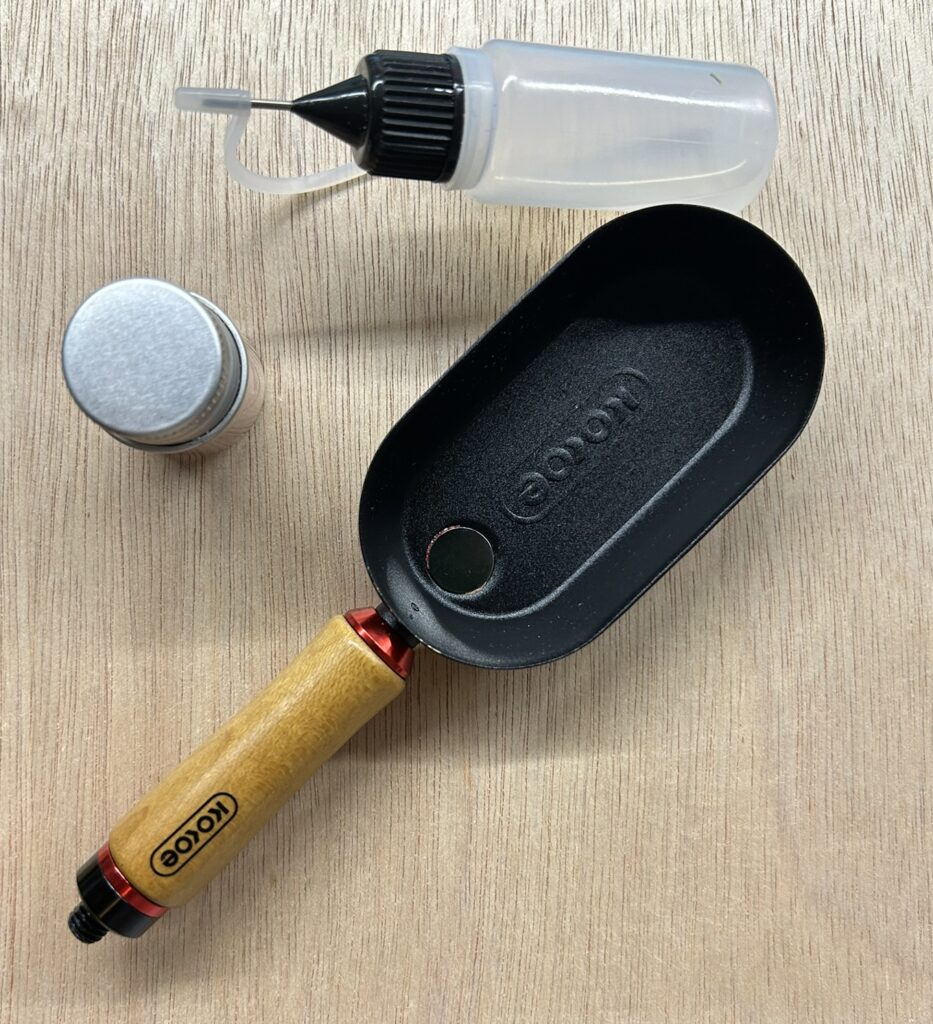
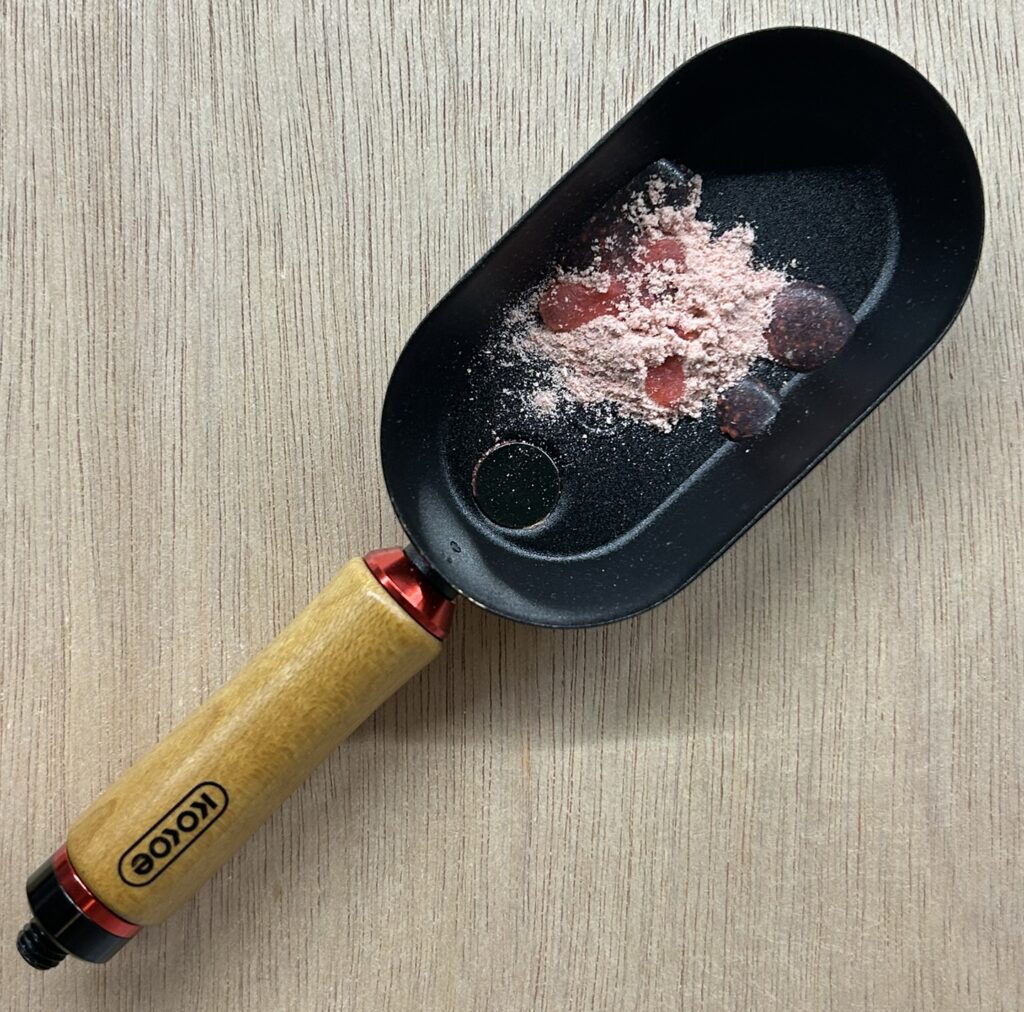
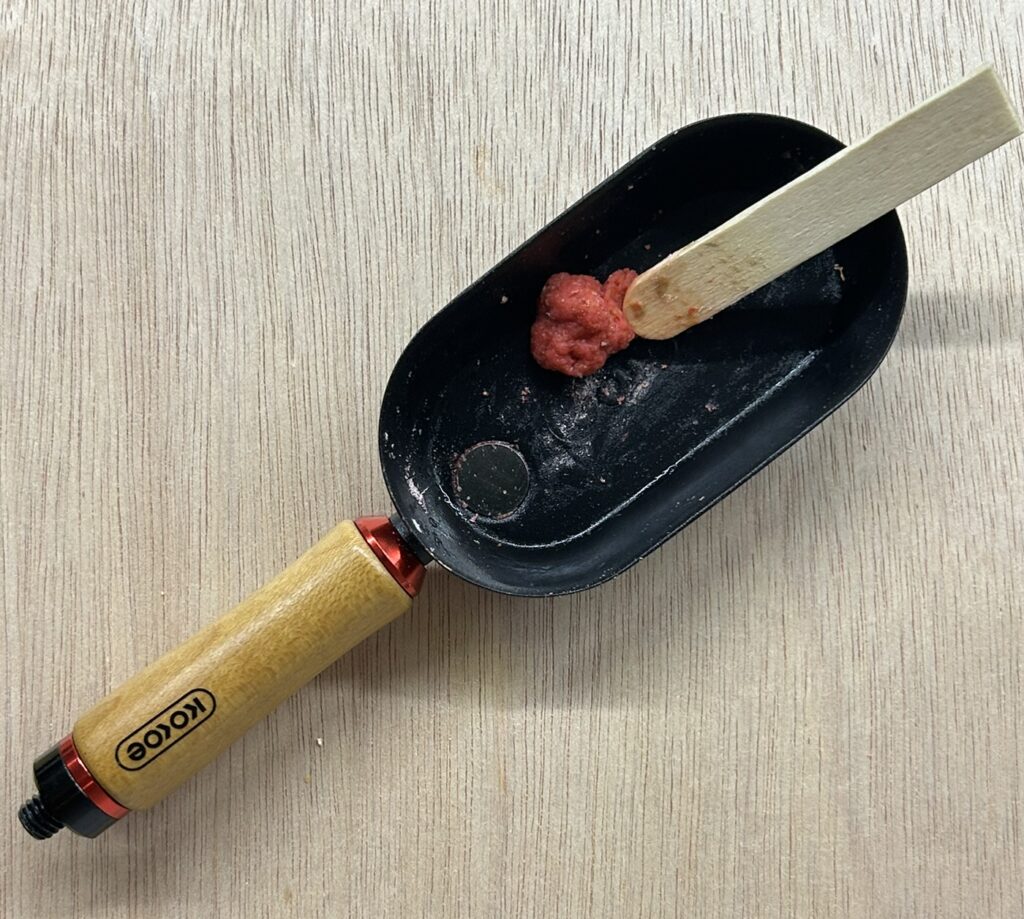
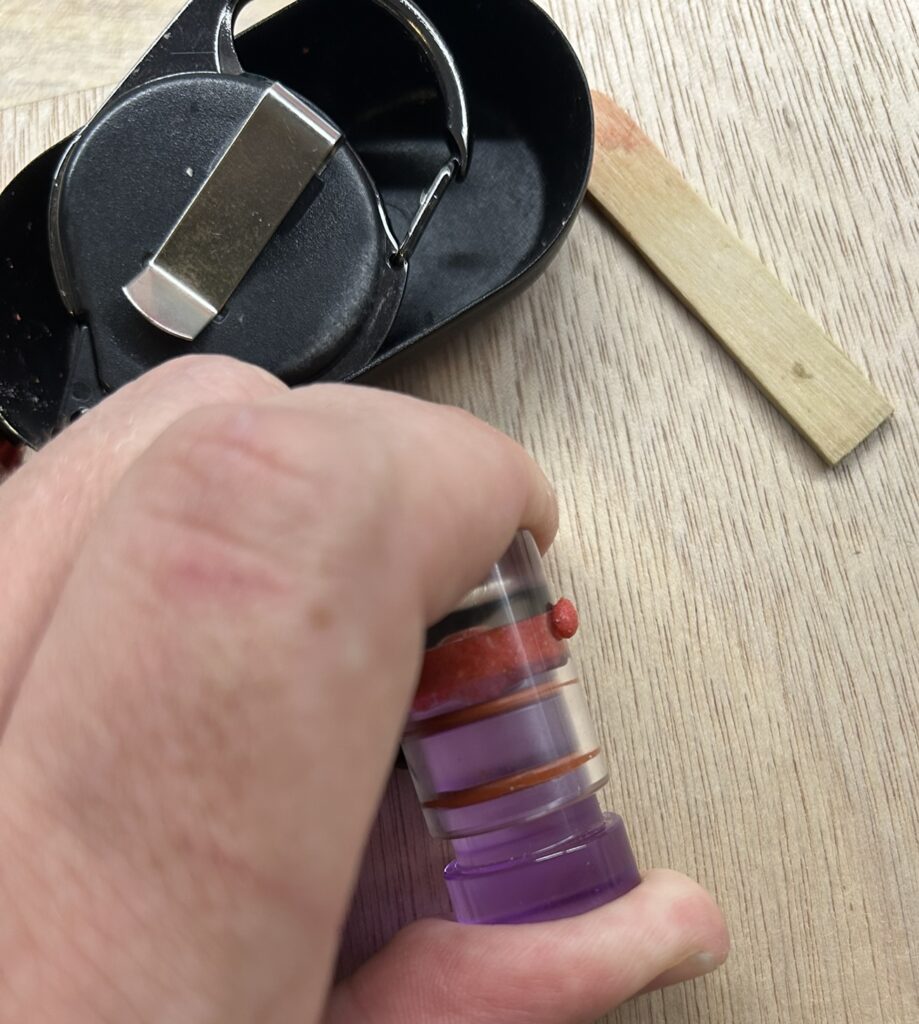
Mixing Bait
Using gluten bait doesn’t need to be exact, shoot for roughly the suggested ratio but a little more powder if too wet or water if too dry is makes adjustments simple. I use a small purpose made mixing bowl, but you can use your hands, bottom of a soda can, section of a tackle box etc. Once mixed you put the blob into the squeezer and squeeze out a small drop and slide your hook through or ball it up with your fingers and stick it to the hook. You don’t need a squeezer, but it does simplify things.